Introduction
After having enough of tests with the RC3 in virtual environment, I decide to upgrade my pfSense 1.2.3 appliance running on Alix2d13. Considering my Dual WAN setup with load balancing and some other rules, I didn’t really want to lose any of my configurations during this process.
If I made in-place upgrade what is my rollback strategy?!
If I performed clean install and just restored configuration backup what are the guaranties that is will work. Of course I can test it in my virtual lab, but there are risks with the physical scenario that I can’t predict using this method. So I needed and alternative.
Scenario
I want to test upgrade my pfSense 1.2.3 to 2.0 RC3. For that purpose I need a reliable rollback plan with no data loss, and minimal operations required. How did I achieve it you can find in the Explanation section.
Setup
The setup is described in this post: SoHo Firewall Appliance with Alix2d13 and pfSense
,noting change there since.
Configuration
First I made a backup of the full configuration of the 1.2.3, you know just in case.
Then download the image file: pfSense-2.0-RC3-4g-i386-20110621-1821-nanobsd-upgrade.img.gz
And extract the image from the archive.
Now as it is described here: Installation on a standard PC (CF/IDE version)
We need the physdiskwrite tool to write the image to the Compact Flash (CF). I’ve used the
physdiskwrite 0.5.2 + PhysGUI
Then I plug in the new CF in the card reader make sure there are no portions on it using the Disk Management Console (Start > Run> diskmgmt.msc), otherwise you will receive error message like the one in the Issue section below.

Then start physdiskwrite with PhysGUI, select the CF disk.

Right click on the disk select Image laden (Load Image), Offnen (Open). Brows to the extracted image and select it.

You will see this warning message window, tick the check box next to Remove 2GB restriction, mine is 8 Gigs, if your CF is smaller then don’t.

Yet another warning message windows, asking you if you really want to overwrite the disk with the image.

No you have about 20 – 30 minutes of waiting, so be patient, do some other stuff.

We are ready.

Explanation
Finally I get it, instead of changing the content of my original Compact Flash, why not get second one and use is for the tests instead? This way I can retain my original configuration and with just a swap of the cards be right back where I started.
Testing
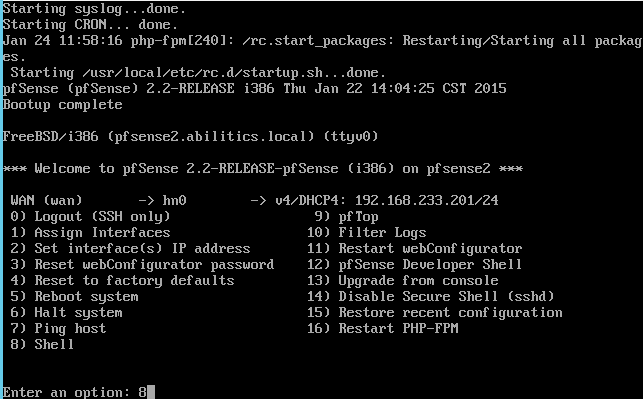
After successful installation I’ve just swap the CFs and configured pfSense 2.0 RC3 using console cable.
Then using the WebGUI restored the backup configuration from the 1.2.3. Now it is time to check the functionality.
The Interface configuration like interfaced configuration was in place but the Load Balancing configuration was gone. Also my OpenVPN configurations were restored but in a non-working state. The firewall rules were applied but with the missing Load Balancer there was little use of them. After about half hour of checks, I decided to roll back to 1.2.3. Swap the CFs again and everything works the old way.
Issues
Writing to the CF card, As stated in Special considerations for Windows Vista/7
If you get write errors shortly after physdiskwrite has begun writing to the target disk (usually after 65536 bytes), this may be caused by existing partitions on the disk. Use the Disk Management utility (right-click on the “Computer” icon on the desktop and select Manage, then navigate to Computer Management (Local)/Storage) to delete all partitions on the target disk before starting physdiskwrite.
If you are unable to delete all the partitions with the Disk Management utility, try the following procedure:
1. Open a command window as admin (“cmd”)
2. Type “diskpart” and hit enter.
3. Type “list disk” and hit enter to find out the number of your drive.
4. Type “select disk X” (where you replace X with the number of your drive) and hit enter.
5. Type “clean” and hit enter.
So I had to clean the disk first but it was a breezy task. Then everything was alright.
Conclusion
Up until the restoration of the configuration backup everything is ok. Now I have to test the restoration in my lab, or better yet reproduce my original configuration there. I ought to think for the second alternative more.
To configure everything in the lab and then just backup and restore the configuration from the same one and the same version sound reasonable to me. Better yet I will know that it works.
I’ll have to test Dual WAN in fail-over configuration, then test recreate my OpenVPN configurations, and test all the rules that I have applied.

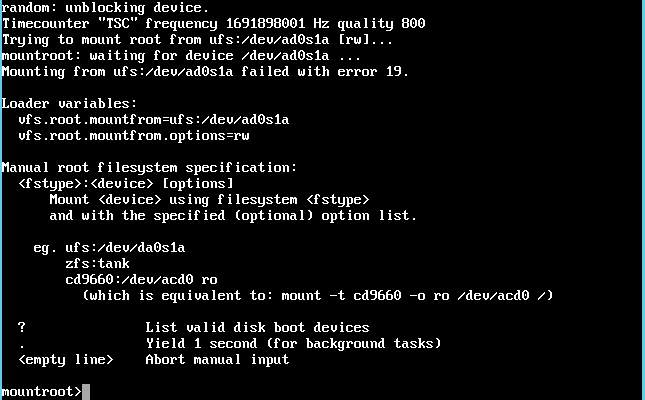 The error message is quite interesting at first:
 The disk names were change from
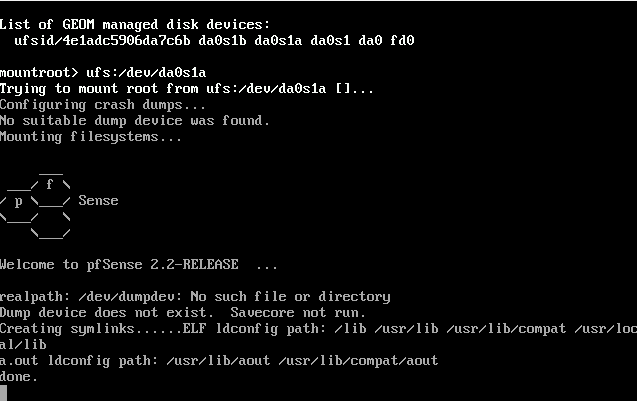
 and edit the file
  and after the change like this
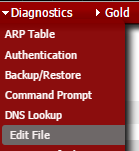 From there you just naviage to the “/etc/fstab” and edit the text.
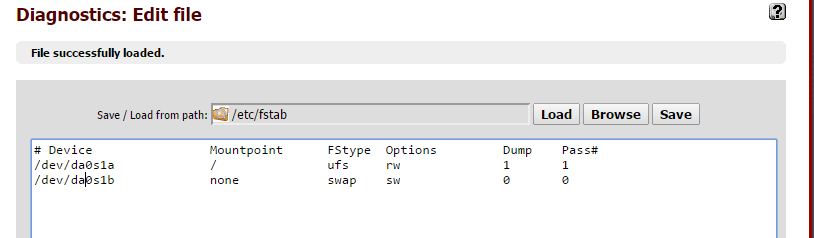 After changes test that the system is booting from the correct partition.


