Introduction
More or less it is expected from a company to provide some form of Wireless Internet Access to guest, clients and partner visiting their premises. Providing them with such could pose a security risk if you use just a simple wireless access point directly connected to your LAN. It is better to isolate them in separate network segment without access to your LAN. For that purpose we will use an Optional Interface and the Captive Portal feature of pfSense 2.0 RC1.
Scenario
You want to provide your guest with Internet Access using single of multiple Wireless Access Point, but you want to prevent them from lurking around your servers and workstations. Even worse they can be infected with some malicious code that could try to take over your network. You have probably seen what enterprise grade wireless solutions offer as functionality, but the price of these solutions is prohibitive to implement for Small Office Home Office (SoHo) uses.
In this post we will look at the basic configuration of Captive Portal, a feature of pfSense, and how to implement a basic scenario with required authentication of guests, which will be quarantined from our internal network, but will have almost full Internet Access at their disposal.
Setup
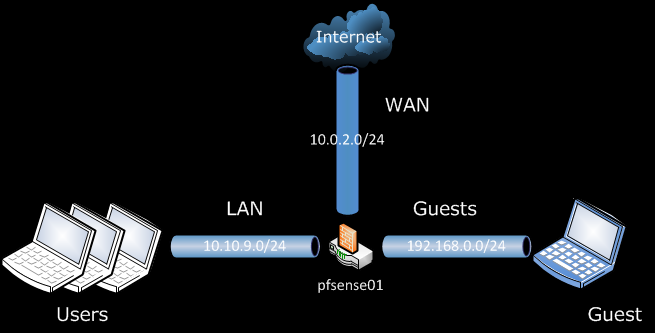
We have a simple setup of pfSense 2.0 RC1 with three network interfaces. The WAN gives us access to the Internet, behind the LAN interface resides our servers and workstations, and we will put the guests behind the GUESTS interface. For reference take a look at the network diagram.
Some hardware appliance on which pfSense is running might have Wireless Network Interface Cards installed initially, in that case you can use that interface for GUESTS, but currently I do not have such card available for testing. At near future when I do get one, I will test this scenario too.
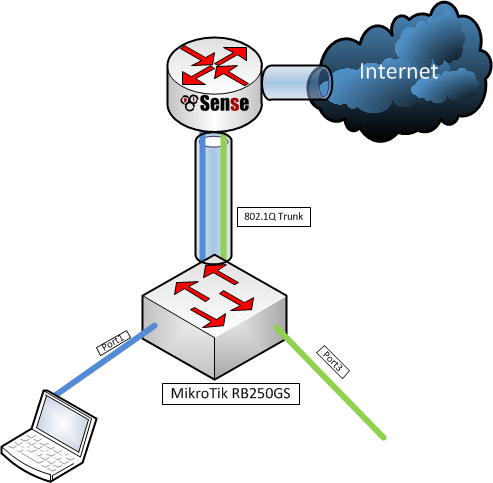
If you are unfortunate enough to have only two network interfaces, but you are fortunate to have a VLAN capable switch you can separate the LAN and the GUESTS into separate VLANs. Take a look at the network diagram below for reference. Yet again this is a separate scenario that I will leave for the future posts.
Configuration
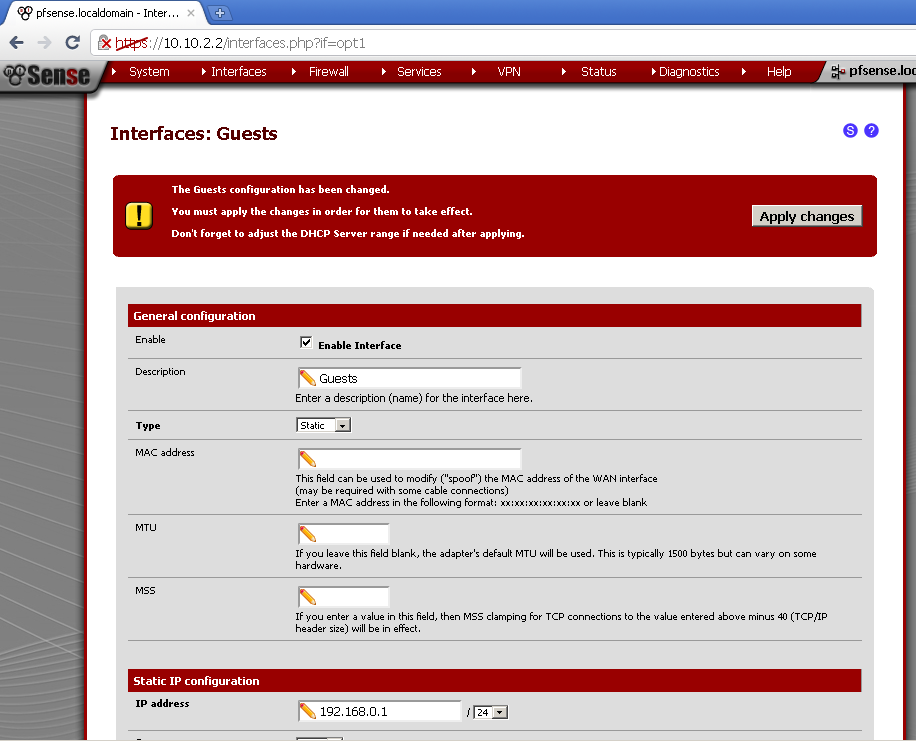
Configure the Guests Interface.
If you haven’t configured the third network interface already, let’s configure it now.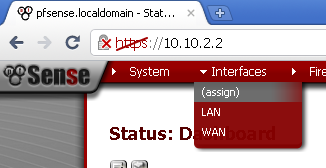
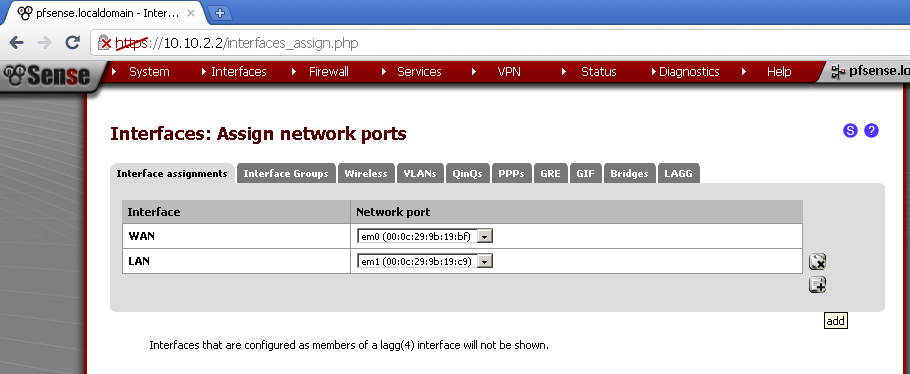
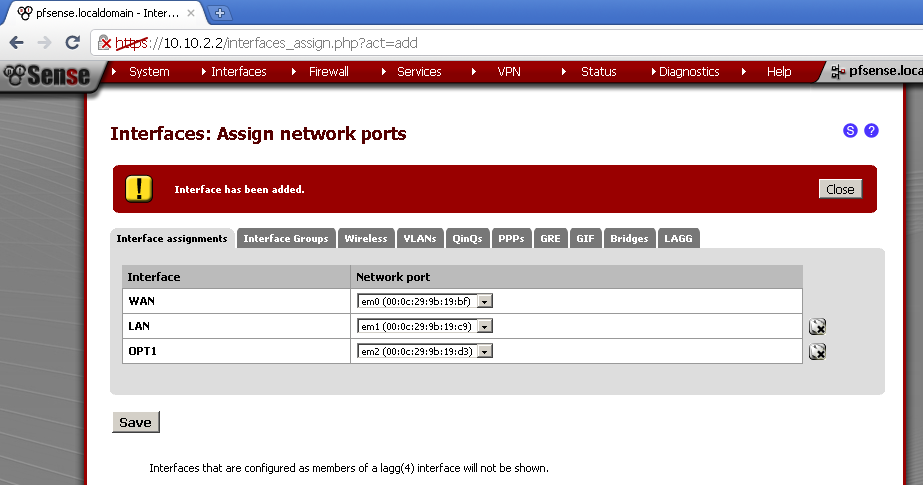
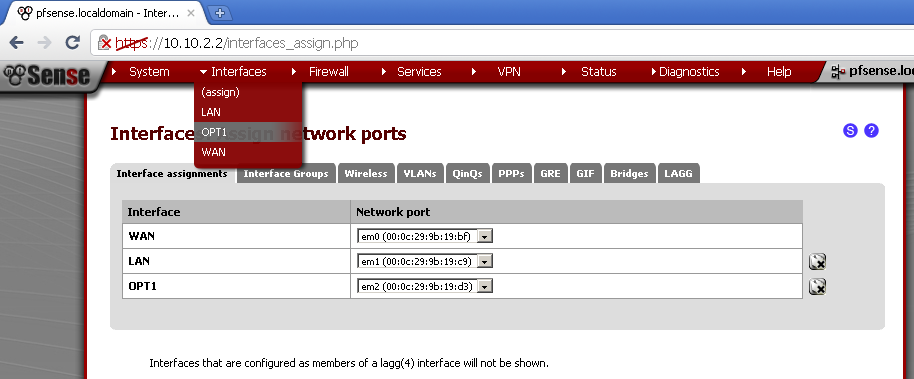
Go to Interface > (assign), and click on the + button, and then click on Save button to save the configuration.
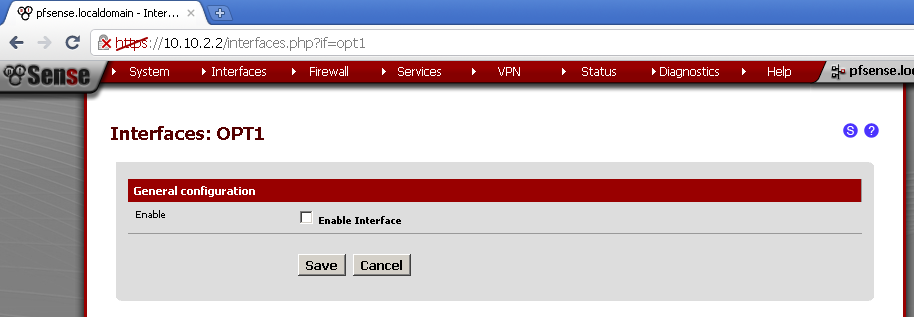
Not go to you newly added interface, the name by default is OPT1.
Tick the Enable Interface and click Save.
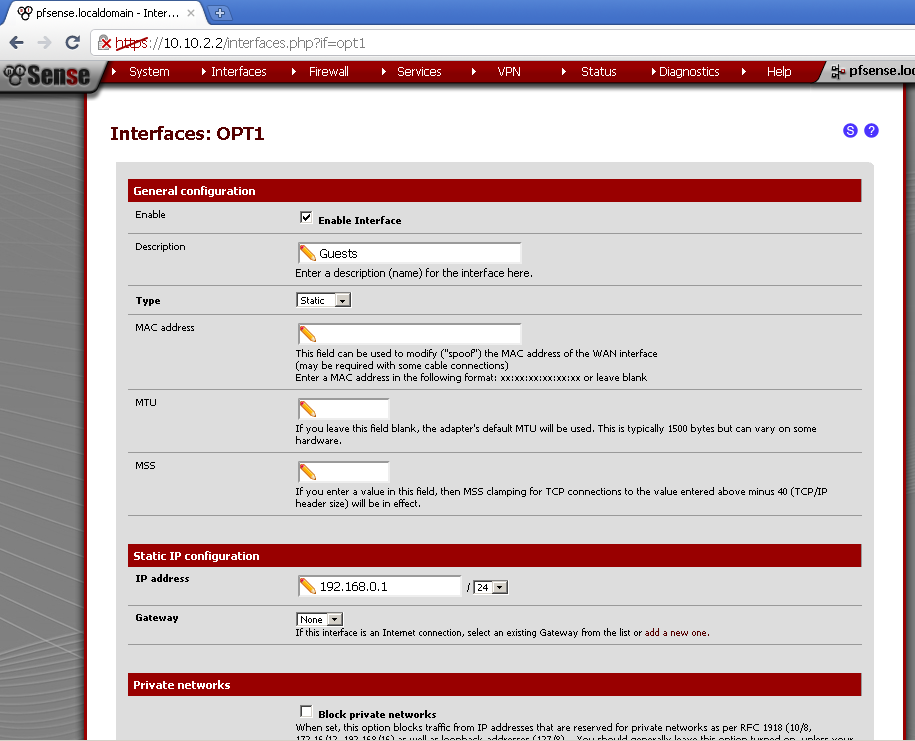
Now you can enter a Description for this interface, in my example I used Guests.
Select Static as Type.
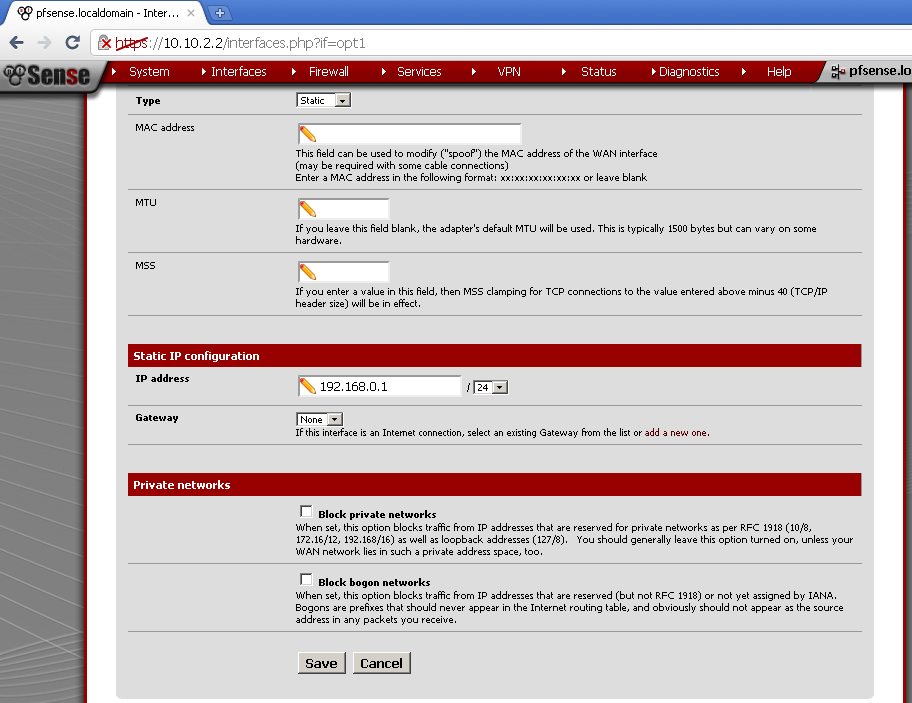
In the Static IP configuration section, enter IP Address for the interface and a subnet mask. In my case these are 192.168.0.1/24.
Then click on the Save button, and Apply changes.
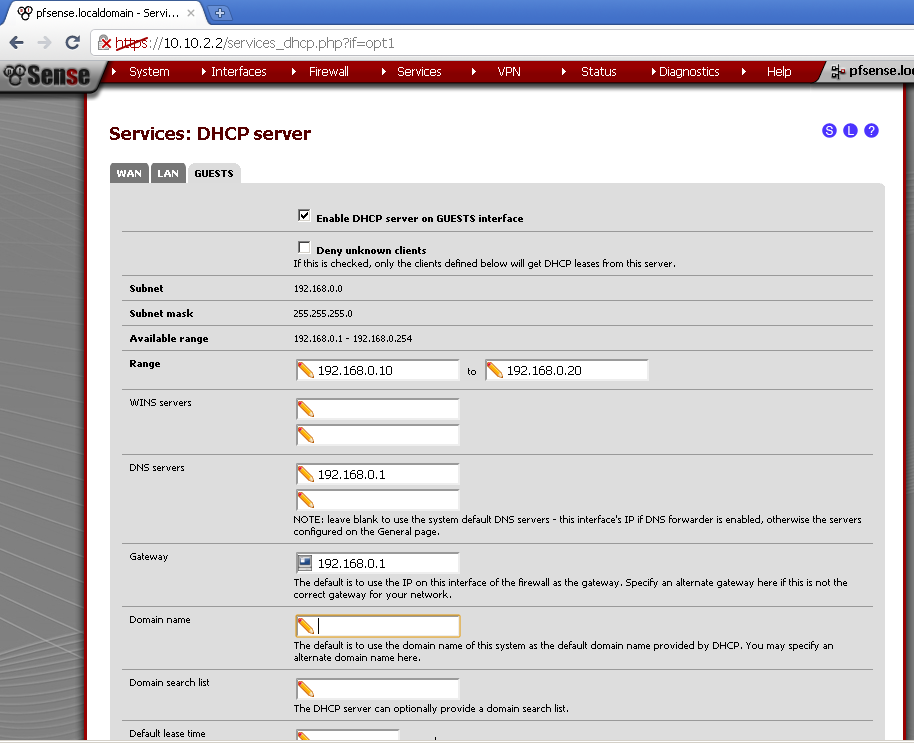
Setup a DHCP Server for this Interface
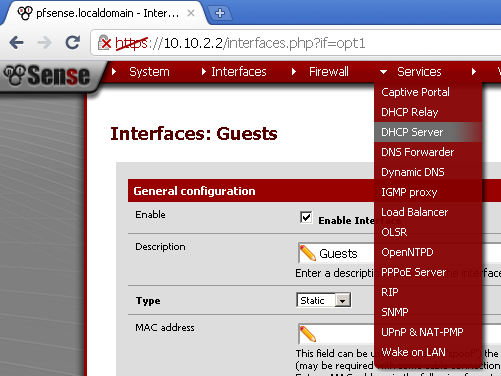
Go to Services > DHCP Server,
on the Guests leaf, tick the Enable DHCP server on Guests Interface.
Enter a Range aka Pool of IP addresses available for our guests, in my case 192.168.0.10-20.
Enter 192.168.0.1 as value for DNS Server and a Gateway, then Save the configuration.
Apply Firewall rules on the Guests Interface
As we stated in the Scenario section, we want to provide our guests only with Internet access, and NO access to our LAN resources, also preventing them from accessing the Web GUI of the pfSense is a good idea.
I used for a base for the required firewall rules this wonderful article here: How To: Using m0n0wall to create a Wireless Captive Portal – Security
As you know pfSense is a fork of m0n0wall, so the rules still apply.
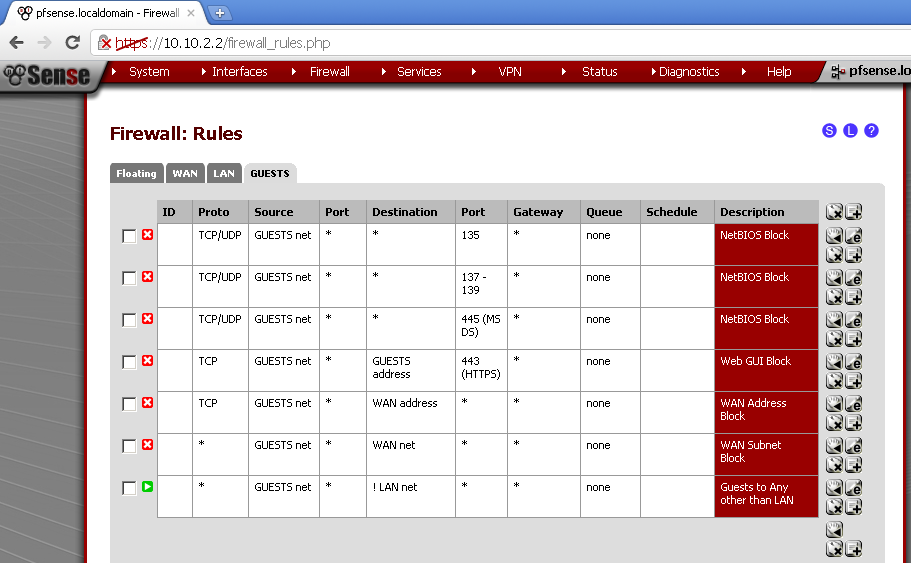
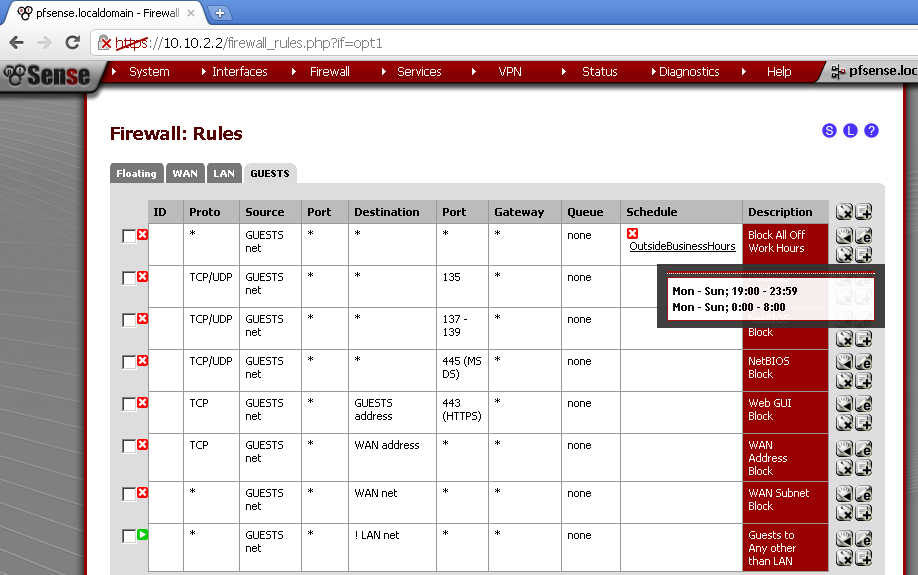
So here are my rules:
The NetBIOS Block rules do exactly that the description states.
Web GUI Block prevent guest from accessing the management interface of the pfSense from the wireless network.
The WAN Address / Subnet Block, prevent the guest from accessing any devices connected directly on our WAN port in case you have something like modem or anything else that could be configured using web or other interface.
The last Guests to Any Other Than LAN network provide our guest with the so much needed Internet Access.
As additional test I’ve made a rule that block all traffic on this interface during no business hours. This is the first time that I used a Schedule for a rule, so accept is as experimental. The idea for this rule is inspired by this blog post: pfSense Captive Portal with Firewall Schedules
If you’re providing Wifi access you certainly don’t want to worry about some jackass out in the parking lot in the middle of the night trying to hack on your portal.
Configure Captive Portal
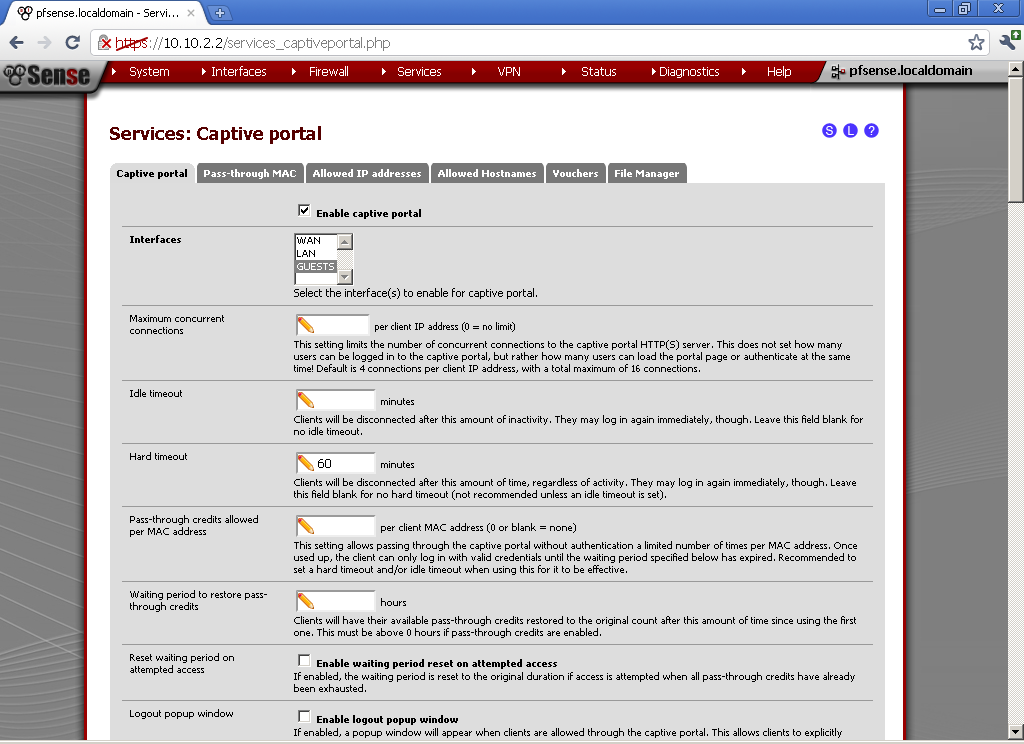
Go to Services > Captive Portal.
Tick the Enable captive portal, and select our Guests Interface. You can leave to the defaults values for now Maximum concurrent connection, Idle timeout. For Hard timeout you can choose a period depending on the average stay of your guests, for my test purposes a value of 60 minutes is fine.
If you really believe that you guest a conscience enough you can enable the Logout popup window, and give then the possibility to logout by themselves, but for the sake of simplicity I will not enable this feature.
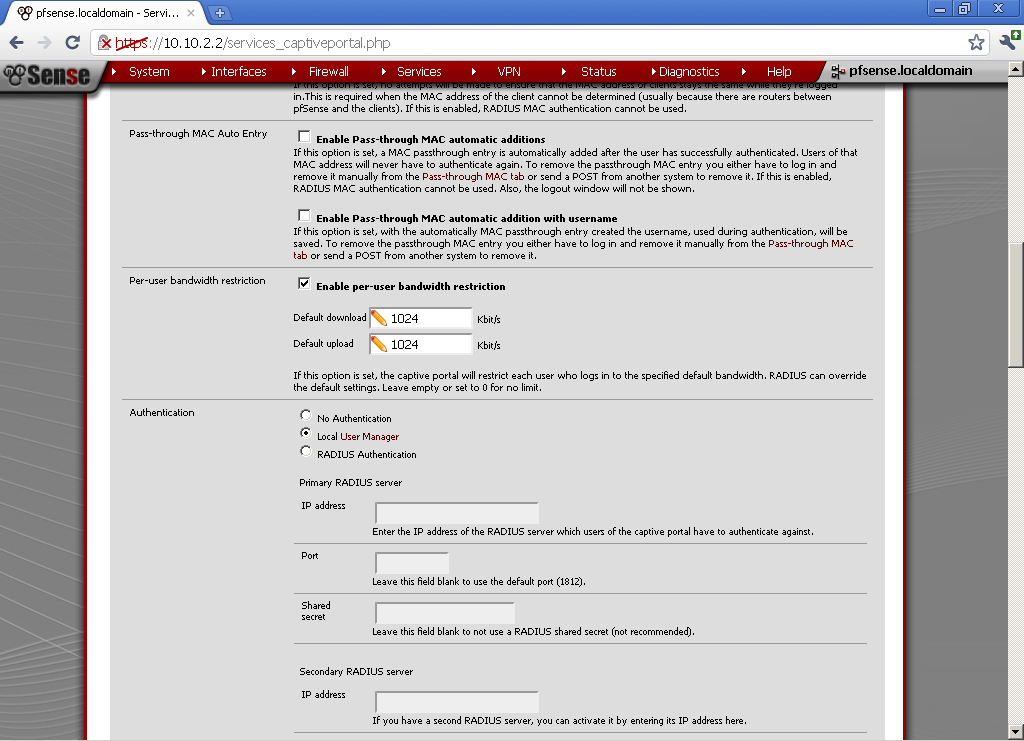
Very nice feature is the Per-user bandwidth restriction, you can limit the amount of bandwidth that each user can consume. This will slow down their access but will provide resources for more concurrent users. It is up to you to decide whether to use this or not. In my setup, I’ve enabled this feature for testing purposes, and the results were satisfactory.
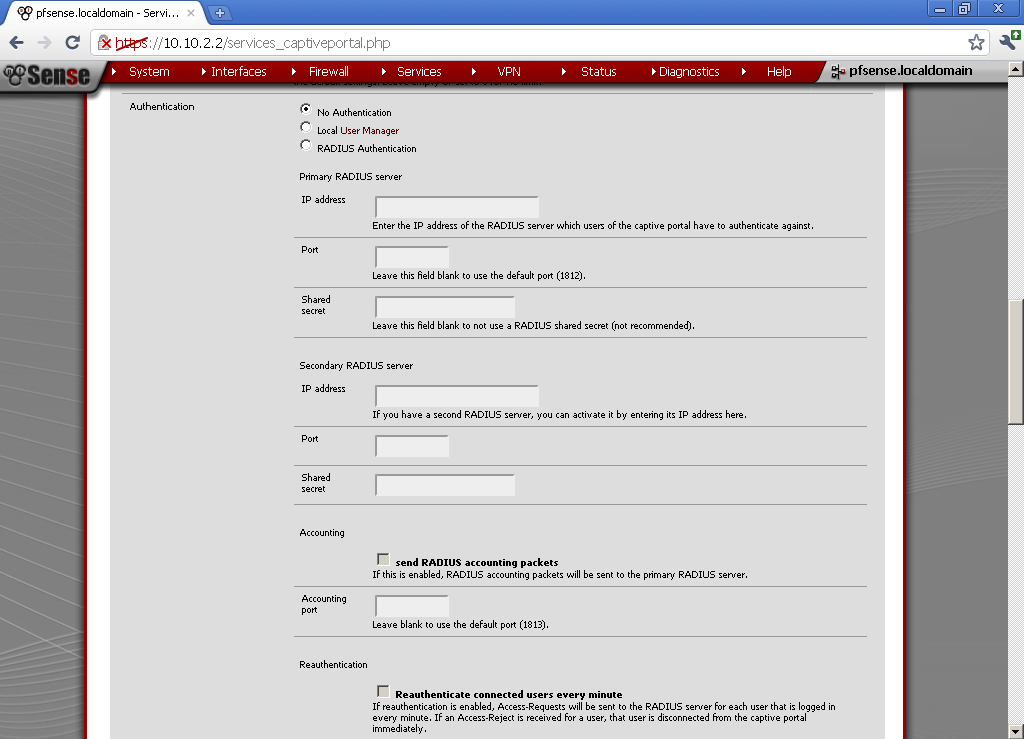
For Authentication, we have three options, No authentication can be used for a page with Acceptable Use Policy for the Wireless Network, which your guest must only acknowledge.
For this example I will use Local User Manager. In a future blog post I will take a look at RADIUS Authentication.
 For now scroll down to the end of the page and click Save.
User Management
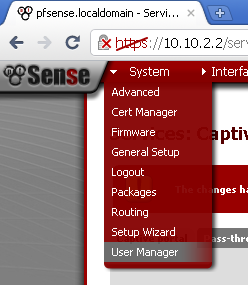
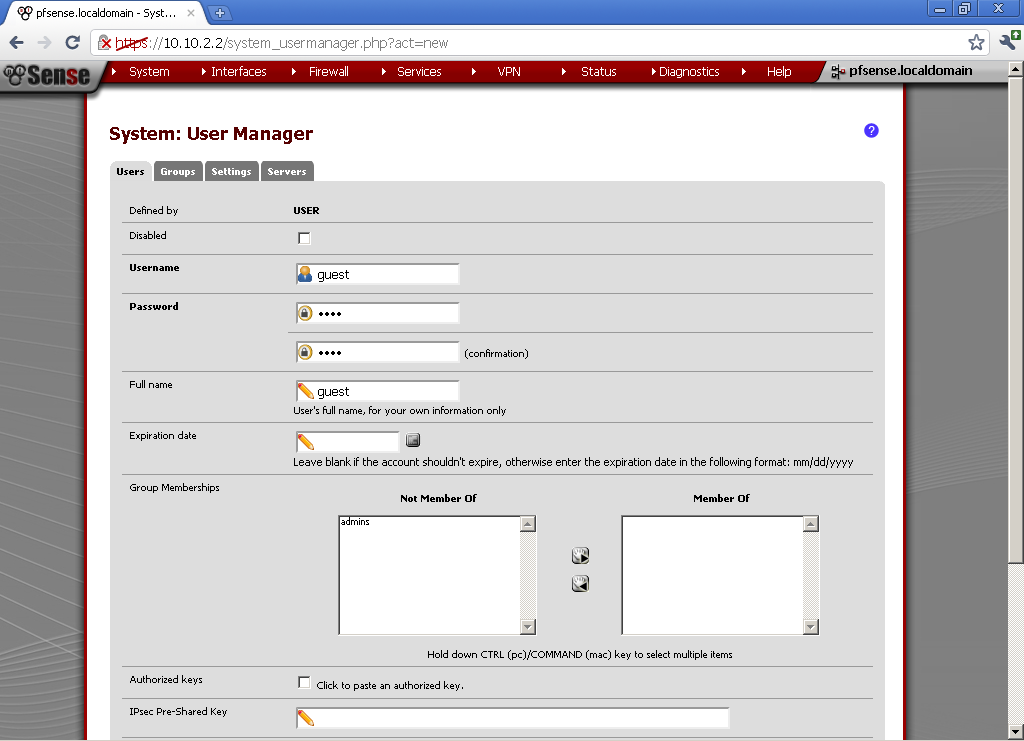
Go to System > User Manager and create new user.
For my example User name is guest, type in a Password, and Full name.
Explanation
The purpose of the Captive Portal is to force guest users to visit a page before they are provided with Internet Access, whether you will simply require them to accept a use policy, or to authenticate in some manner it is up to you and your needs.
Testing
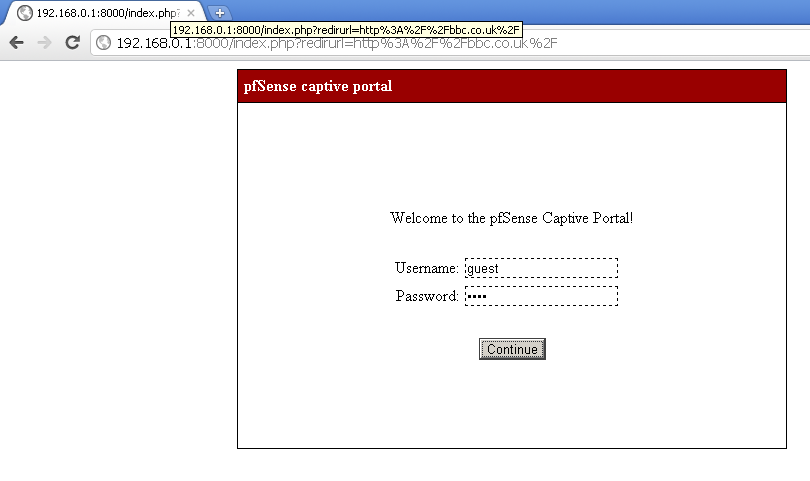
Now I suppose that you have connected one or more Wireless Access Points to the Guests Interface of the pfSense, and configured a SSID for guests. After that you have connected to this Wireless Network. Now when you open a browser and type in some website address, you will be redirected to the Captive Portal page and be required to enter user name and password, use the guest account. After successful authentication you will be redirected back to the original web site address that you have entered.
Conclusion
Now you can connect one or more Wireless Access Point to the Guest interface of pfSense and distributed the guest user name and password to clients coming over. Whether you will limit the services on to normal business hours, or limit the bandwidth for each user I leave up to you.
In the following post I will look at the possibilities to customize the Captive Portal pages, and implementation of Vouchers and RADIUS authentication.

