Introduction
After writing OpenVPN with LDAP authentication on pfSense 2.0 RC1, a reader of my blog shared some problems with configuring OpenLDAP on CentOS. So I decide to build such a setup and test.
Scenario
The scenario is as follows, authenticating users requiring access to the OpenVPN server against OpenLDAP service running on CentOS.
Setup
I’ve spent most time in preparing the CentOS server. Initially my decision was to use CentOS 6.0, but after a few failed attempts to configure it and the absence of how to guides for this purpose, I’ve decided to fall back to 5.6.
For this version there is a wonderful how to guide here:
Install And Configure OpenLDAP 2.4.25 On CentOS 5.6
Following this instructions I’ve managed to setup OpenLDAP very fast. The only comment that I have is in this section:
All data loaded is in LDIF format. Create a file to initialize the LDAP database:
# vi ldap-init.ldif
dn: dc=mycompany,dc=com
objectclass: dcObject
objectclass: organization
o: Example
dc: mycompany
dn: cn=Admin,dc=mycompany,dc=com
objectclass: organizationalRole
cn: Admin
you have to have one new row, otherwise the import in the next step fails. So the above should look like:
# vi ldap-init.ldif
dn: dc=mycompany,dc=com
objectclass: dcObject
objectclass: organization
o: Example
dc: mycompany
dn: cn=Admin,dc=mycompany,dc=com
objectclass: organizationalRole
cn: Admin
Next step is to create a few test users. For that purpose I’ve used :
Ldap Admin is free Win32 administration tool for LDAP directory management. This application lets you browse, search, modify, create and delete objects on LDAP server. It also supports more complex operations such as directory copy and move between remote servers and extends the common edit functions to support specific object types (such as groups and accounts).
You can use it to manage Posix groups and accounts, Samba accounts and it even includes support for Postfix MTA. Ldap Admin is free Open Source software distributed under the GNU General Public License.
Configuration
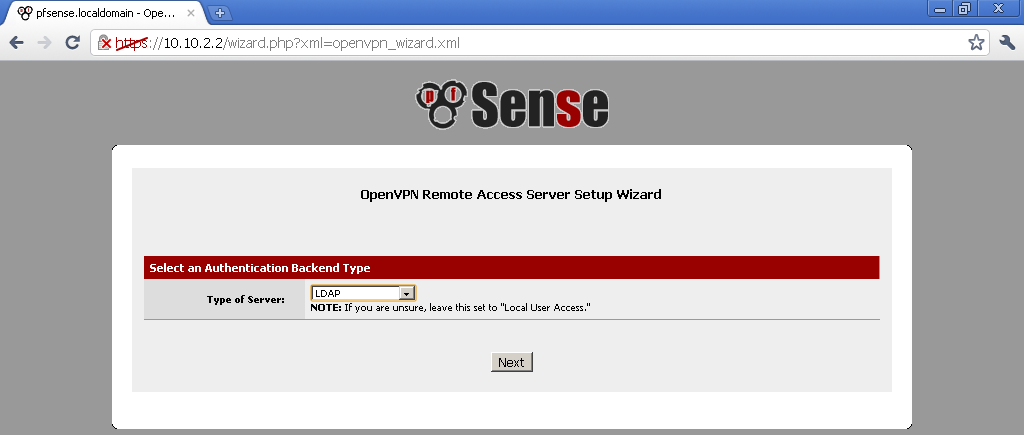
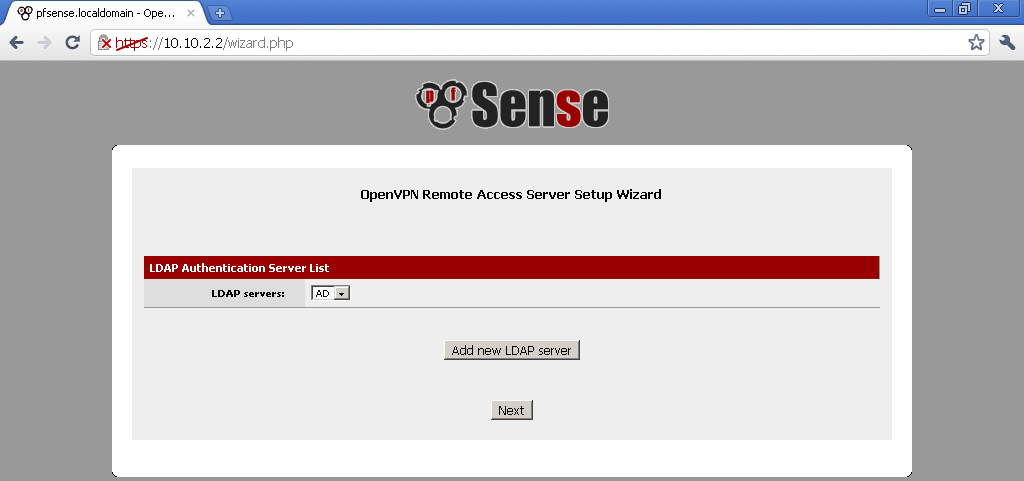
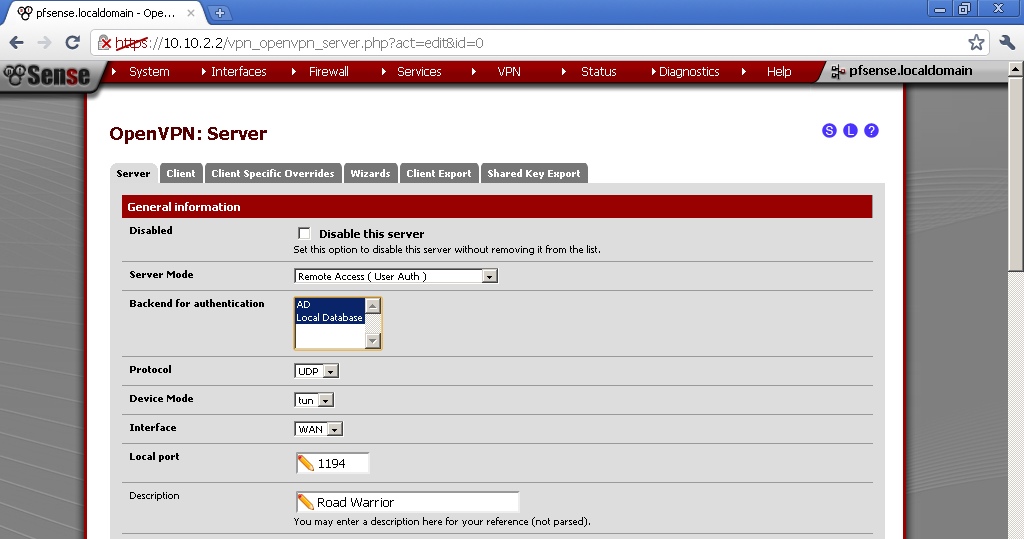
It is time to configure the pfSense. I will skip all the steps described in the previous posts. You can find them here:
pfSense 2.0 RC1 configuration of OpenVPN Server for Road Warrior with TLS and User Authentication
OpenVPN with LDAP authentication on pfSense 2.0 RC1
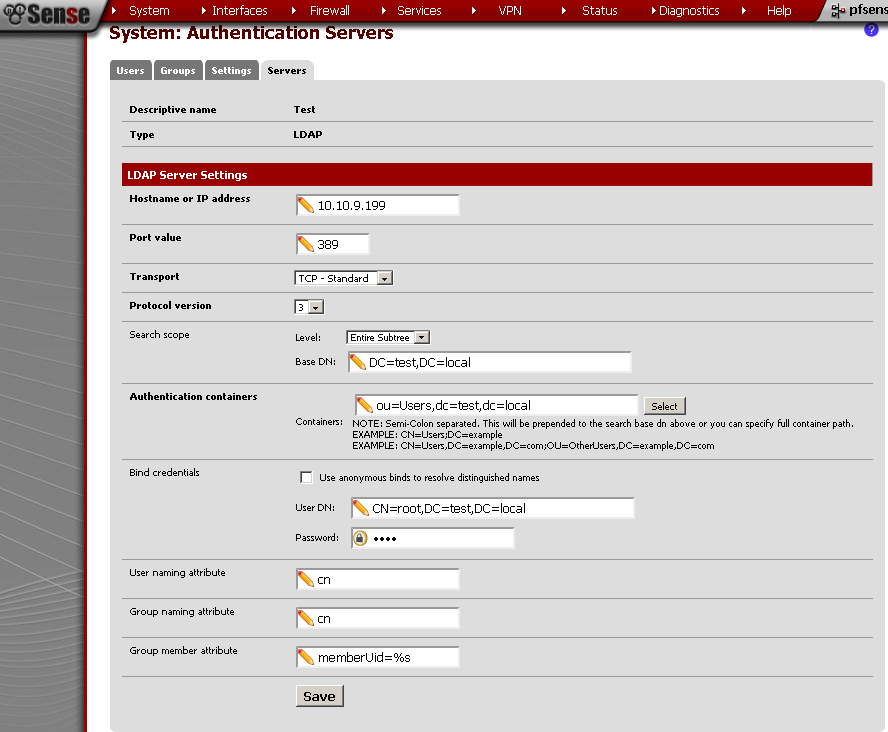
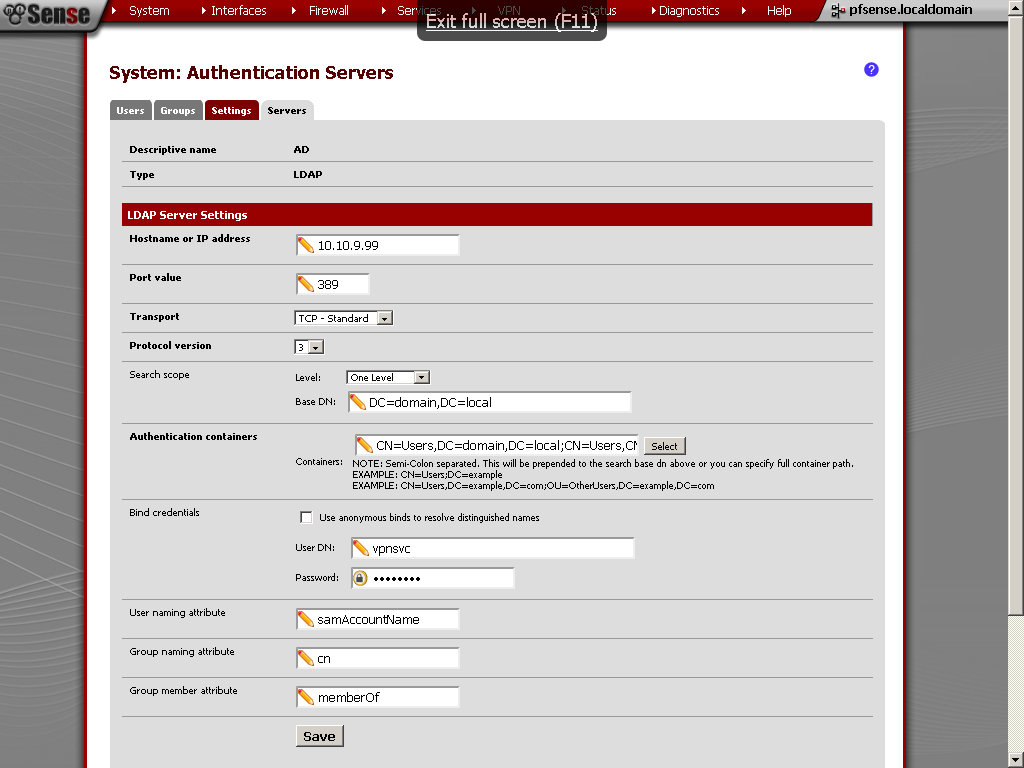
Now let’s get straight to System > User Manager and on the Servers leaf.
Hostname or IP address: this it the address of the CentOS server
Base DN: this is the domain name
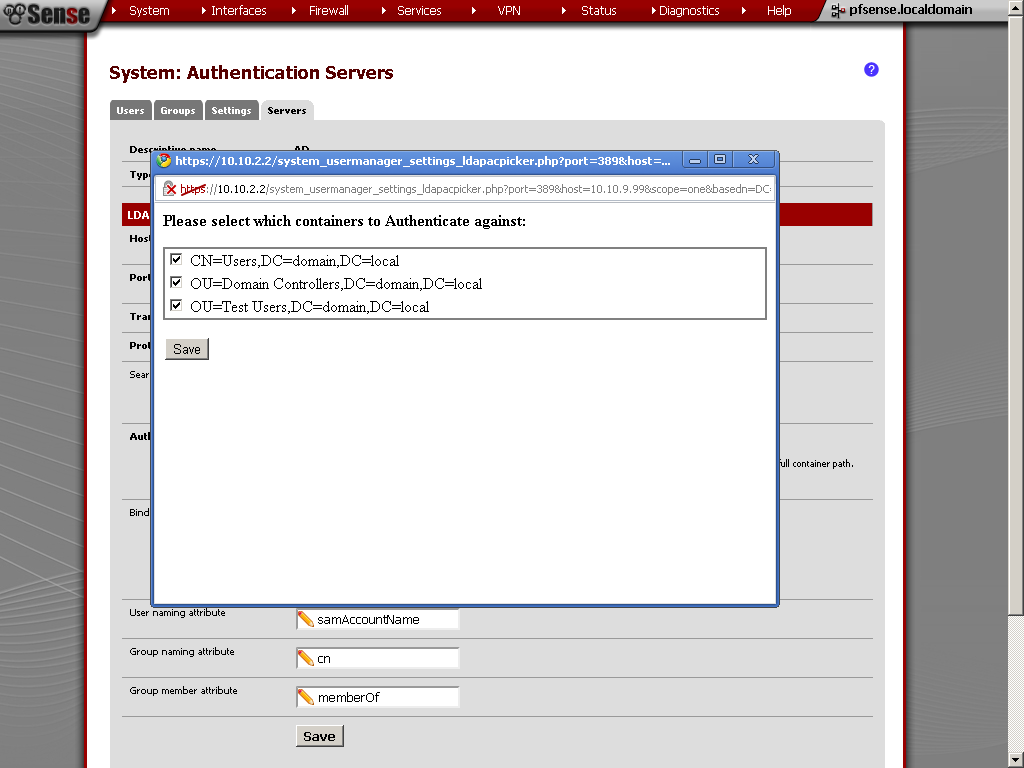
Authentication container: after insterted the Bind credentials, it was visible, but when I’ve click on the Save button, nothing happen. So I’ve typed it in manually.
Bind Credentials: enter User DN and Password. , I’ve tested it and with Use anonymous binds to resolve distinguished names, it works also.
Group Member Attribute: you can modify this with the Uid=%s, if you need.
Testing
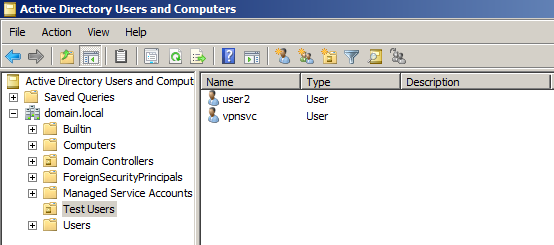
Just for reference this is my test user.
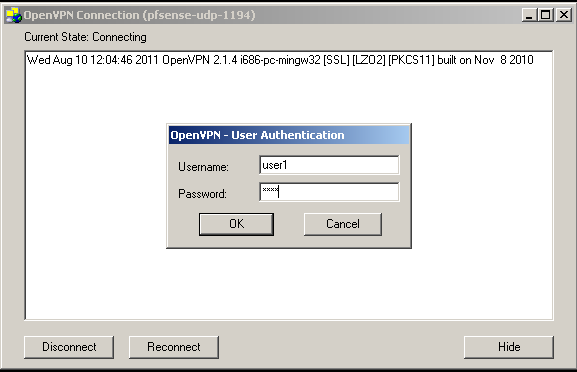
After preforming the OpenVPN configuration, enter the user name and the password.
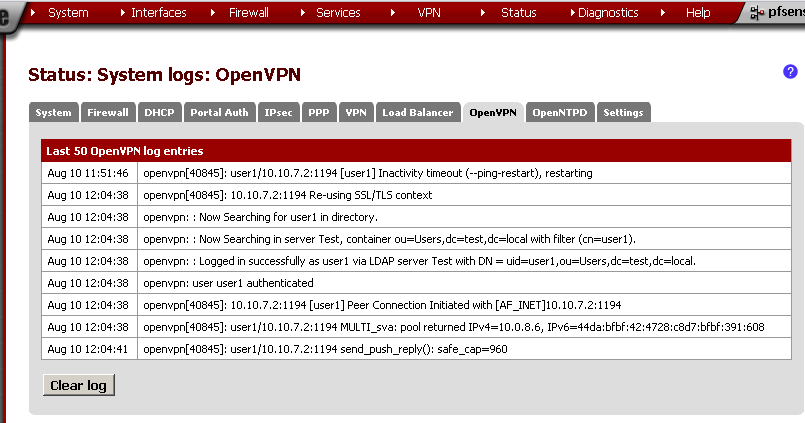
If everything is OK, you should be successfully connected and see something similar in the OpenVPN logs:
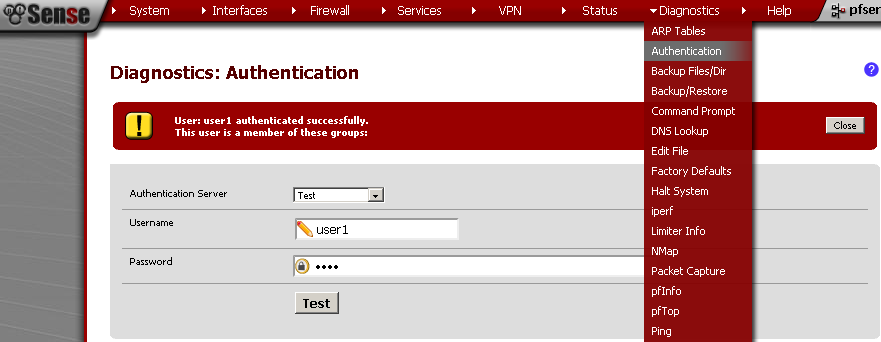
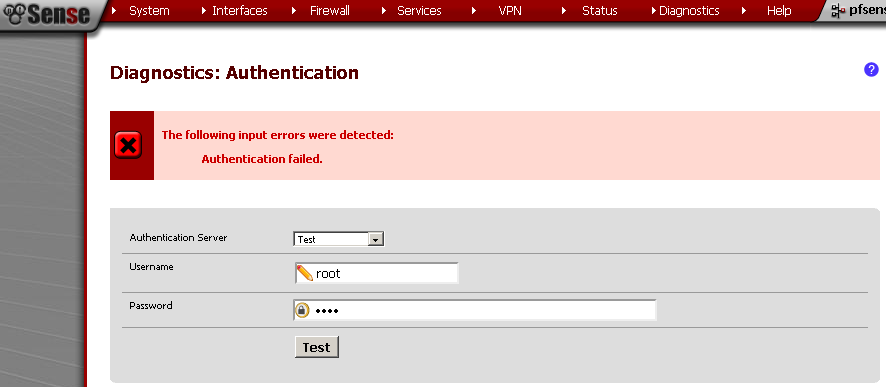
You can also test the connection using the Diagnostics > Authentication, Select the Authentication Server, in my case the CentOS OpenLDAP connection is named Test. Enter Username and Password, and see the result.
If you get error, you can check the Status> System Logs on the System leaf for errors.
I’ve got this error when the CentOS server was turn off.
Issues
The issues that I faced was the problem with selecting the OU in which my users resides. Hope this will be fixed in future versions. On the CentOS side the problems were releted with the changes of OpenLDAP in the 6.0 version.
Conclusion
That’s it. Thank you for reading.

