
Sharing a Port with OpenVPN and a Web Server
Routing your entire internet traffic over VPN when away from home is almost a must. Especially when using public WiFi hotspots or hotel internet.
Hello all, long time no see. I have a lot of other engagements lately and can’t reach to our beloved topic of pfSense. The fact that I don’t write new posts does not mean that I have abandoned it. Sometimes you have to put priorities to things in your life that are not as pleasant as other, but are just as much if not more important.
Enough said about that. Let’s get to the topic.
Recently I was visiting Asian country. As you probably know there are some places that some sites are restricted for access. It was a strange experience to not be able to open pages that you usually use every day. On other hand I would prefer to route all traffic over my Internet connection back at home when in a foreign country. Just as a protection.
So for test purposes I’ve setup an OpenVPN instance to check if I’m able to route all my traffic back home.
During my research I’ve came across very interesting article on the pfSense documentation. The article is: “Sharing a Port with OpenVPN and a Web Server”
It works and the only modification that has to be made to the OpenVPN server configuration are as follows:
- Set the protocol to TCP in the General Information section

- Don’t forget to tick in the Tunnel Settings > Redirect Gateway
(Force all client generated traffic through the tunnel.)
![]()
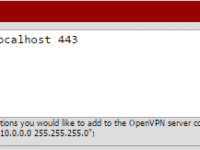
- In Advanced configuration section in Advanced field put the following:
port-share localhost 443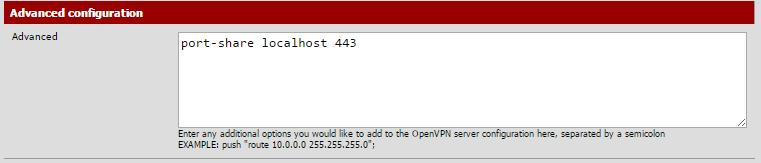
The old OpenVPN configuration instructions you can find here:
pfSense 2.0 RC1 configuration of OpenVPN Server for Road Warrior with TLS and User Authentication
Now you can connect to your pfSense / OpenVPN server on HTTPS and hopefully it would appear much like you are opening a page over SSL.
Have fun and as usual I don’t take any kind of responsibly for the way you use this setup, or any legal actions or consequences for that matter or related to it.