Introduction
In the previous post pfSense 2.0 RC1 Configure Captive Portal for Guests with Local User Management we configured a basic Captive Portal. Now I want to customize a little the web pages that are presented to the guests. Users will send credentials, and it is better to use HTTPS, that’s why will will configure it too.
Scenario
I want to customize the pages put custom colors and logo. Moreover the default page does not have a voucher field available, and I want this too. Granting access to guests, must follow some rules, so Acceptable Use Policy that have to be acknowledged is suitable for such a page
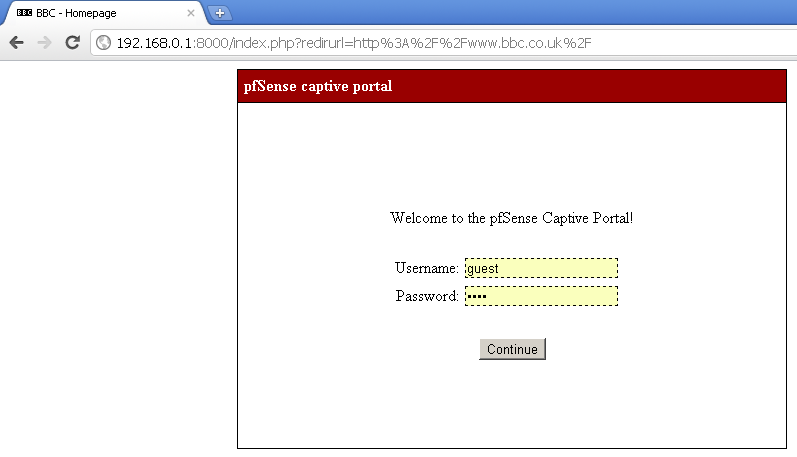
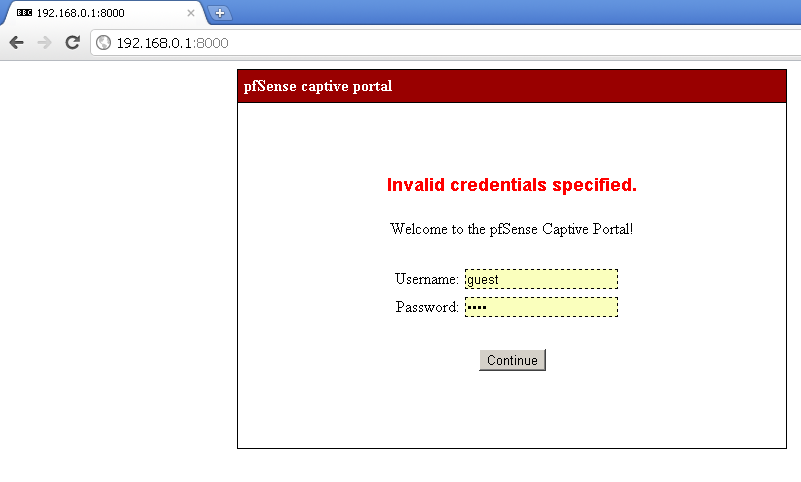
You can see the default pages below
Configuration
Certificate for the HTTPS/SSL
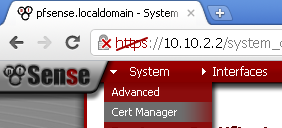
Go to System > Cert Manager
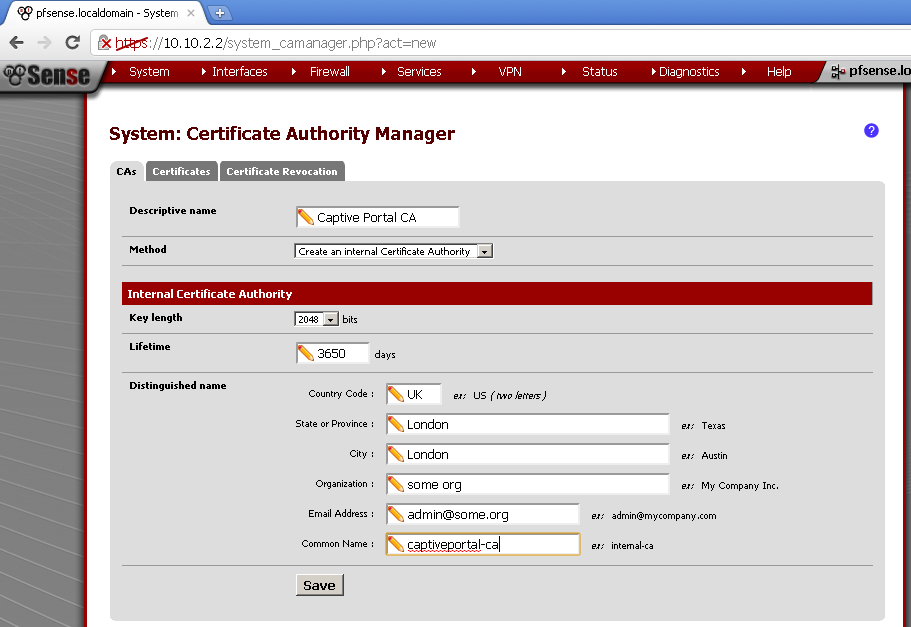
On the CAs leaf, select Create and internal Certificate Authority. Fill in the form to your likings. Make note of the Common name and the Descriptive name.
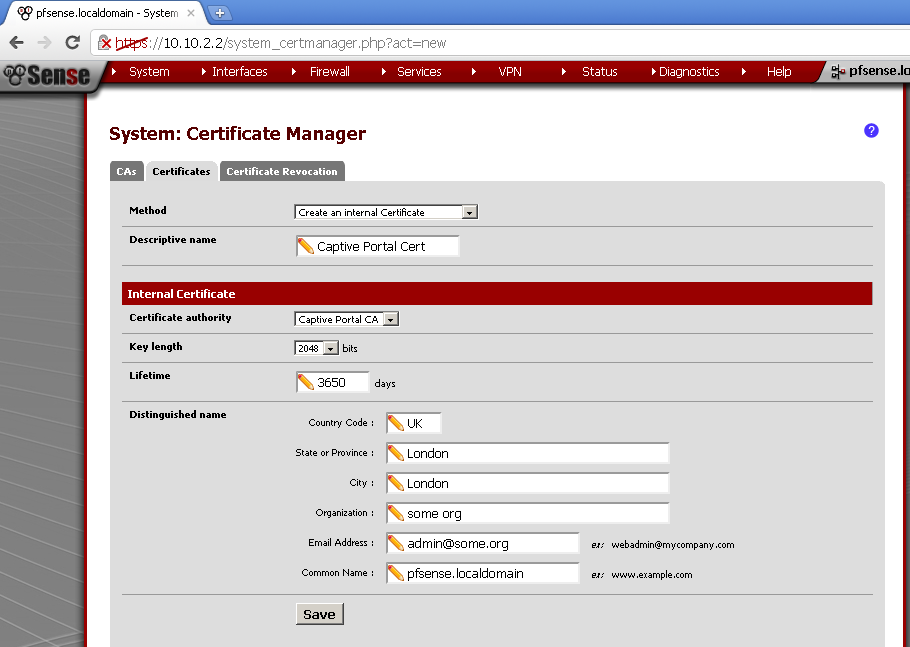
Go to the Certificates leaf, and Create an internal Certificate, fill in the form. The Common Name for the certificate must match to firewall name. In my case it is pfSense.localdomain. Also note the Descriptive name of the certificate.
Export the Certificates
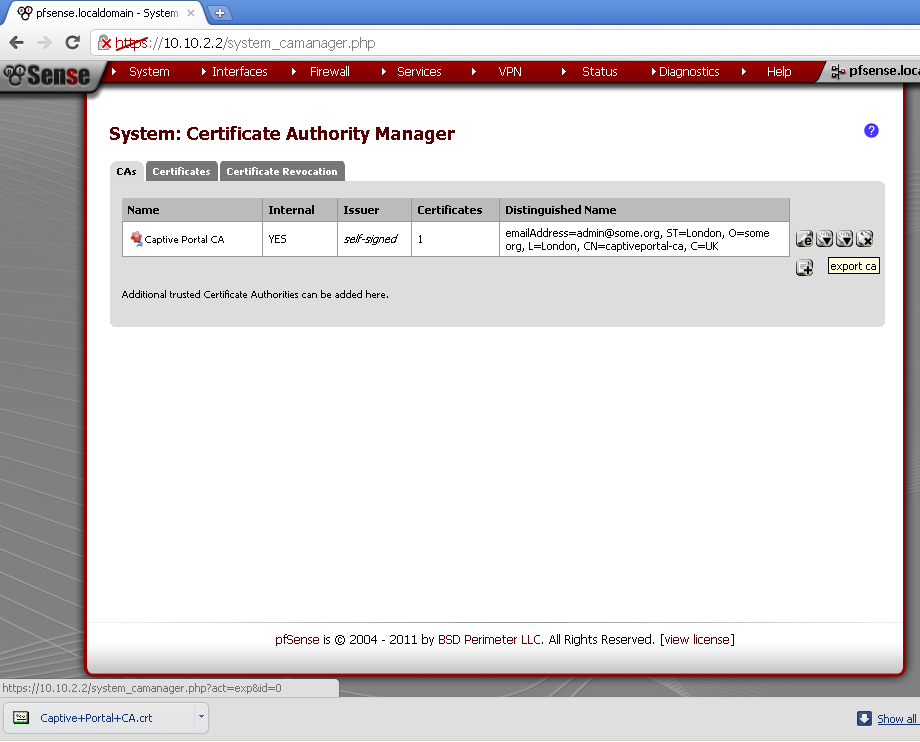
On the CAs leaf click on the downward pointing triangle with rollover info export ca.
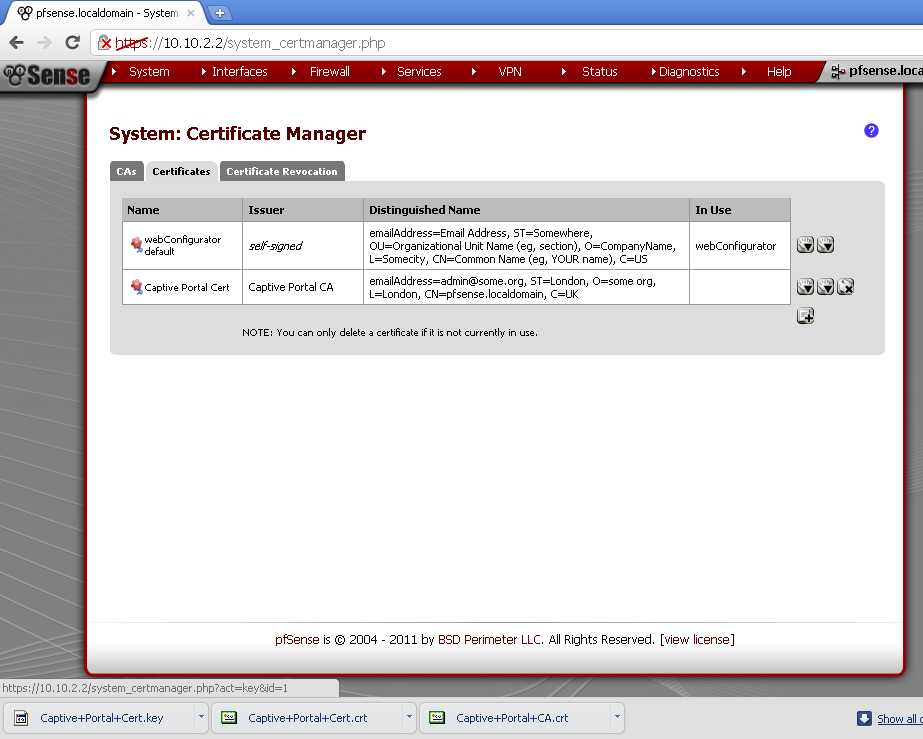
On the Certificate leaf, click on both downward pointing triangles for the Captivate Portal Cert.
You will end up with three file with similar names to this
DNS Record
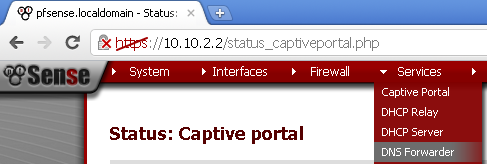
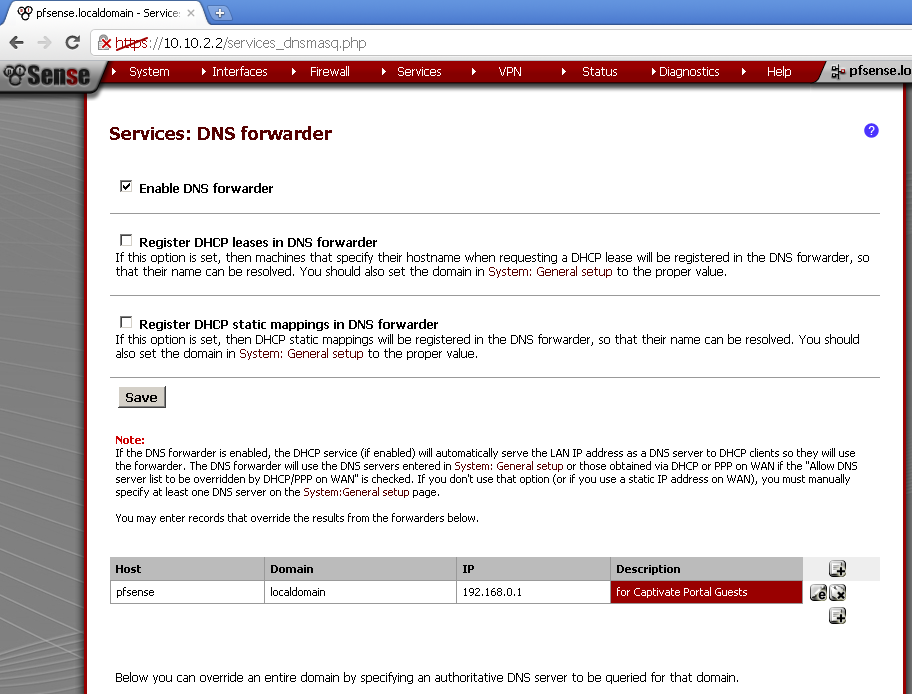
Go to Services > DNS Forwarder
Add new record that will override the results from the forwarders
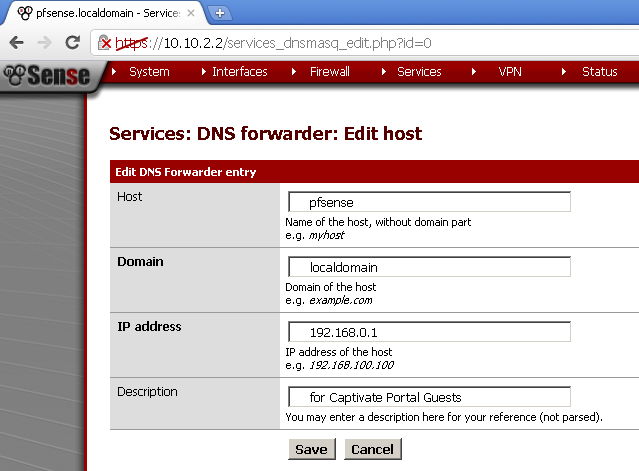
Enter Host, Domain, IP Address and Description. In my case the host is pfSense, the domain is localdomain, the IP address is the IP used by pfSense for the Guest network and I’ve entered some useful description.
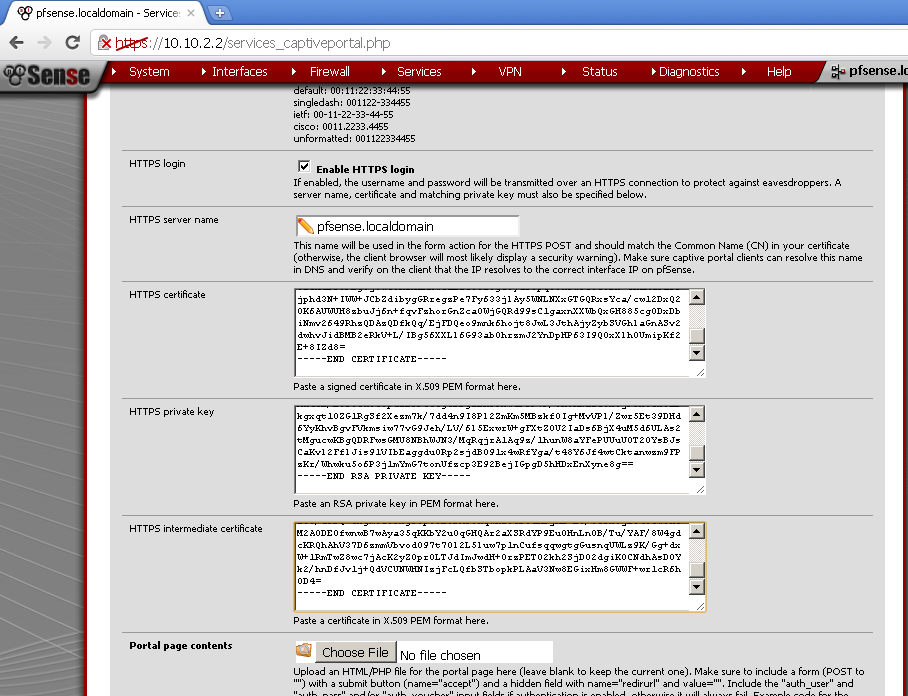
Put the Certificate data in the fields
Now open the certificates in your favourite text editor. I’ve used Notepad++, and copy and paste the content in the Services > Captive Portal pages.
Paste Captive+Portal+Cert.crt in HTTPS certificate section
Paste Captive+Portal+Cert.key in HTTPS private key section
Paste Captive+Portal+CA.cert in HTTPS intermediate certificate section
Save your configuration.
Upload the logo
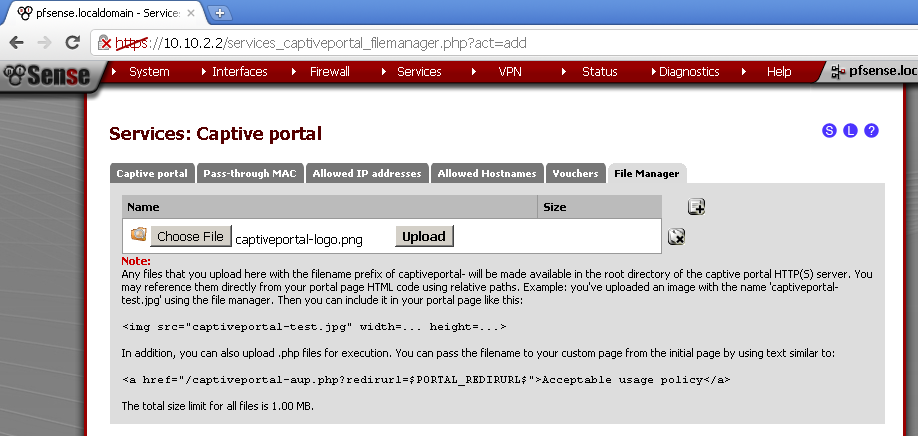
Go to the File manager leaf of the Captive portal. Click on the + sign. And choose your logo image.
Then click on the Upload button.
Take a note of the name of the image, if it is different from the one used in your pages update them before uploading.
Upload the pages
Go back to the Captive portal leaf, and scroll down to the Portal page contents section.
Click on Choose File button and select your page file. Do the same for the Authentication error page contents page with the index_error.html page. Save your configuration.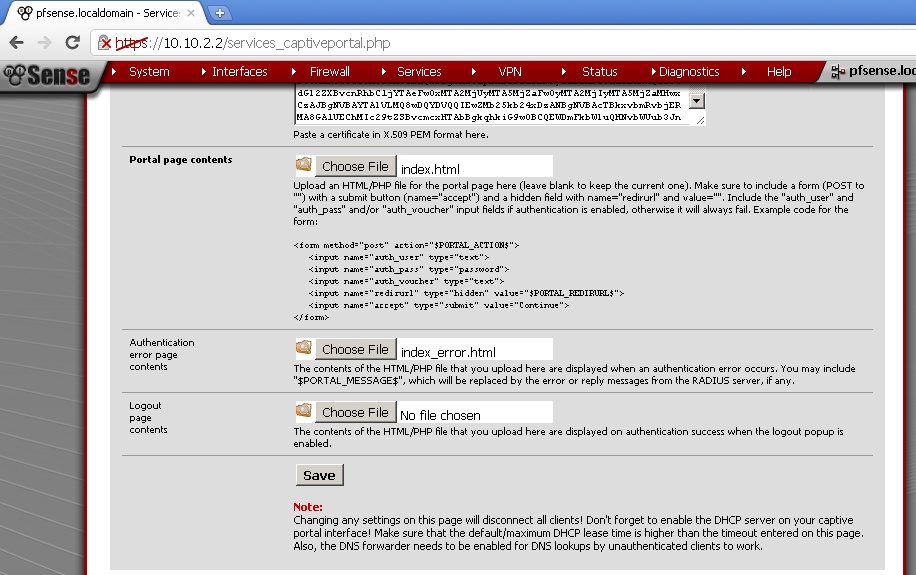
Explanation
I’ve used the build in Certificate Manager, because it works for me. The alternative is to use OpenSSL as explained in the pfSense forums. This is closely related to the DNS record.
By customizing the pages we can brand them and in the same time create more enterprise look and feel. Opening the voucher field is first step to my next post. There the main topic will be configuration of vouchers and RADIUS authentication.
About the pages code:
Index.html

